Dalian Eastern Display Co., Ltd.
Dalian Eastern Display Co., Ltd.


This guide provides a step-by-step walkthrough on connecting an OLED display to your Raspberry Pi 4, covering hardware selection, software configuration, and troubleshooting common issues. Learn how to choose the right display, install necessary drivers, and get your Raspberry Pi 4 OLED display setup in minutes. We’ll also explore different display options and provide practical examples to help you succeed.
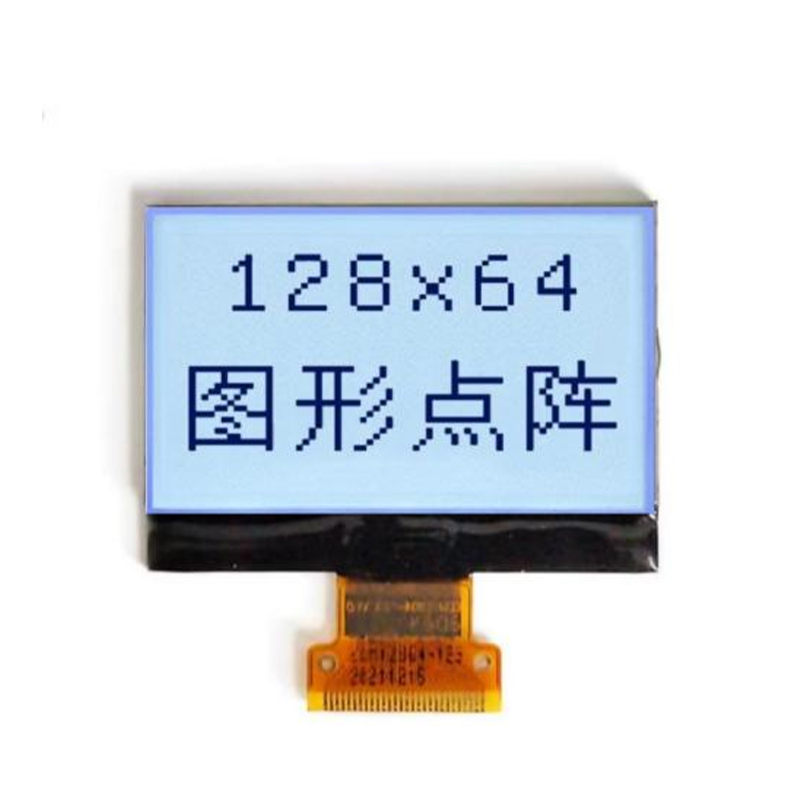
Selecting the appropriate Raspberry Pi 4 OLED display involves considering several key specifications. Screen size (typically ranging from 0.96 inches to 2.8 inches for common Raspberry Pi 4 OLED display options) is a major factor. Resolution (measured in pixels, e.g., 128x64, 128x32) impacts image clarity. Interface type (I2C, SPI) determines how the display communicates with the Raspberry Pi. Finally, consider power requirements and the display's physical dimensions to ensure compatibility with your project.
Many OLED displays are compatible with the Raspberry Pi 4. Some popular choices include displays from Adafruit, Waveshare, and several other manufacturers. Research thoroughly to find a display that fits your specific needs in terms of size, resolution, and interface. Always check the manufacturer's specifications to ensure compatibility with your Raspberry Pi 4 model. Consider reading reviews from other users before making a purchase. Remember to check the pinout diagram to ensure you have the right connectors.
Once you have your Raspberry Pi 4 OLED display, carefully connect it to your Raspberry Pi 4. This typically involves connecting the display's data pins (I2C or SPI) to the appropriate GPIO pins on the Raspberry Pi. Precise pin assignments will vary depending on your specific display model, so consult your display's documentation carefully. You'll also need to connect the display's power supply (+3.3V and GND). Ensure all connections are secure to avoid any short circuits. For instance, a poorly connected GND line can prevent the display from functioning properly.
After connecting the hardware, you need to install the necessary drivers and libraries on your Raspberry Pi. This typically involves using the `sudo apt-get update` and `sudo apt-get upgrade` commands to update your system's package list and then installing the appropriate libraries for your display's interface (e.g., I2C or SPI). You may also need to enable the I2C interface using `sudo raspi-config`. Consult your display's documentation for specific installation instructions and library requirements. This step is crucial for correct display function.
After installing the drivers and libraries, you can start displaying text and images on your Raspberry Pi 4 OLED display. This usually involves using Python libraries like `luma.oled` or `ssd1306` that provide functions for interacting with the display. Many example codes and tutorials are available online. These libraries allow for easy control of text color, size, position, and image display. Ensure you have the correct library installed that corresponds to your display's controller chip (e.g., SSD1306).
If you encounter problems, common issues include incorrect wiring, driver installation problems, and software configuration issues. Carefully double-check your wiring connections. Make sure the power supply is stable and that the voltage is correct (3.3V). If issues persist, consider reinstalling the drivers and checking your code for errors. Refer to online forums and communities for assistance if necessary. Searching for the specific error messages you receive often yields helpful solutions.
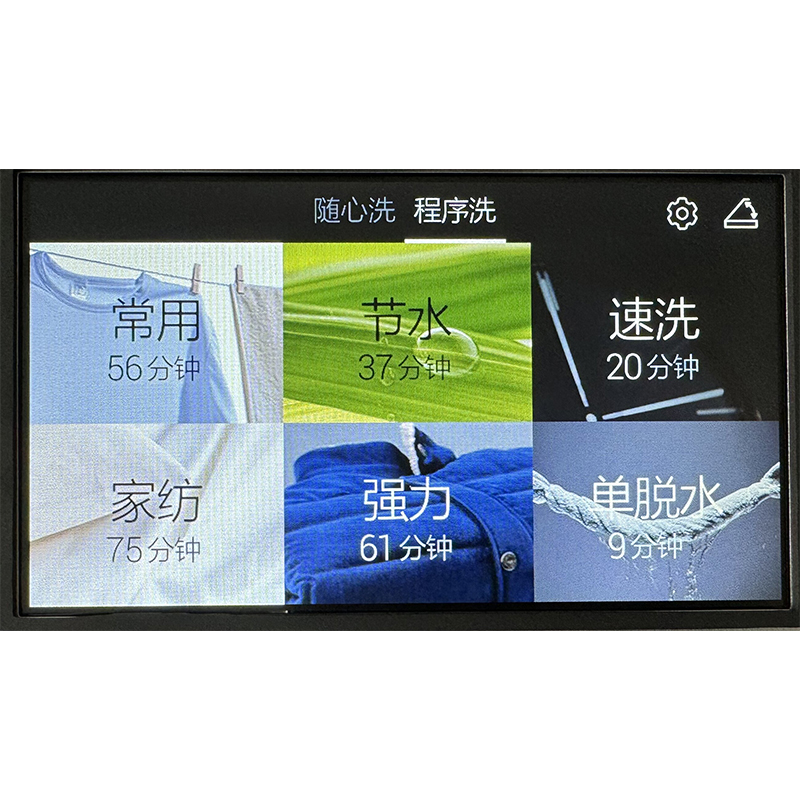
Once you have the basics working, you can explore advanced applications. Use your Raspberry Pi 4 OLED display to create dashboards for sensor data, build custom interfaces for projects, or display real-time information. The possibilities are almost limitless. Experiment with different libraries and coding techniques to achieve the desired functionality.
| Display Feature | Adafruit Display | Waveshare Display (Example) |
|---|---|---|
| Screen Size | Varies by model | Varies by model |
| Resolution | Varies by model | Varies by model |
| Interface | I2C or SPI | I2C or SPI |
For high-quality LCD and OLED displays, consider exploring the options available at Dalian Eastern Display Co., Ltd. They offer a wide range of displays for various applications.
1 Manufacturer websites (Adafruit, Waveshare, etc.) should be consulted for the most up-to-date specifications and datasheets.