Dalian Eastern Display Co., Ltd.
Dalian Eastern Display Co., Ltd.


The Raspberry Pi 4 boasts a versatile Serial Peripheral Interface (Raspberry Pi 4 SPI interface), a synchronous, full-duplex communication bus ideal for connecting various peripherals. This guide delves into the intricacies of the Raspberry Pi 4 SPI interface, equipping you with the knowledge and practical examples to utilize its capabilities effectively. We'll cover configuration, programming, troubleshooting, and showcase real-world applications.
SPI, or Serial Peripheral Interface, is a synchronous, full-duplex communication protocol widely used in embedded systems. It utilizes four main lines: MOSI (Master Out Slave In), MISO (Master In Slave Out), SCK (Serial Clock), and CS (Chip Select). Data transfer is controlled by the master device (typically the Raspberry Pi 4) which generates the clock signal and selects the slave device (the peripheral) using the CS line. The speed and simplicity of SPI make it a popular choice for connecting various devices to the Raspberry Pi 4. Compared to I2C, SPI offers higher data transfer rates, but requires dedicated lines for each connected device.
The Raspberry Pi 4's SPI pins are located on the GPIO header. Refer to the Raspberry Pi 4 GPIO pinout diagram for precise locations. Typically, you'll use CE0 (Chip Select 0) and CE1 (Chip Select 1) for selecting different devices. Remember to always consult the datasheet of your specific peripheral for accurate pin assignments.
Before you can use the Raspberry Pi 4 SPI interface, you need to enable it. This involves updating the configuration file and rebooting the system. Use the following commands in the terminal:
sudo raspi-configNavigate to Interfacing Options and then SPI. Select Enable and follow the on-screen instructions. A reboot is required after enabling the SPI interface.
For Python programming, you'll need the `spidev` library. Install it using pip:
sudo pip3 install spidevThis example demonstrates basic communication with a SPI device using the `spidev` library in Python. Remember to replace the bus and device numbers with the correct values for your setup. This might require checking your device's datasheet and the Raspberry Pi pinout diagram to ensure proper connection.
import spidev# Create SPI objectspi = spidev.SpiDev()spi.open(0, 0) # Bus 0, Device 0# Send and receive datadata = [0x01, 0x02, 0x03]received_data = spi.xfer2(data)print(Sent data:, data)print(Received data:, received_data)spi.close()Troubleshooting SPI communication problems often involves checking connections, verifying pin assignments, and confirming the SPI configuration. Double-check your wiring, ensuring proper grounding and power supply. Consult the datasheets of your connected devices for specific requirements and troubleshooting tips. Using a logic analyzer can help identify data transfer issues.
The Raspberry Pi 4 SPI interface opens a world of possibilities. Here are a few examples:
The Raspberry Pi 4 SPI interface provides a robust and efficient method for connecting a wide range of peripherals. By understanding the basics, configuration, and programming techniques, you can harness its power to build innovative and complex projects. Remember to always refer to the relevant datasheets for specific details about your chosen devices.
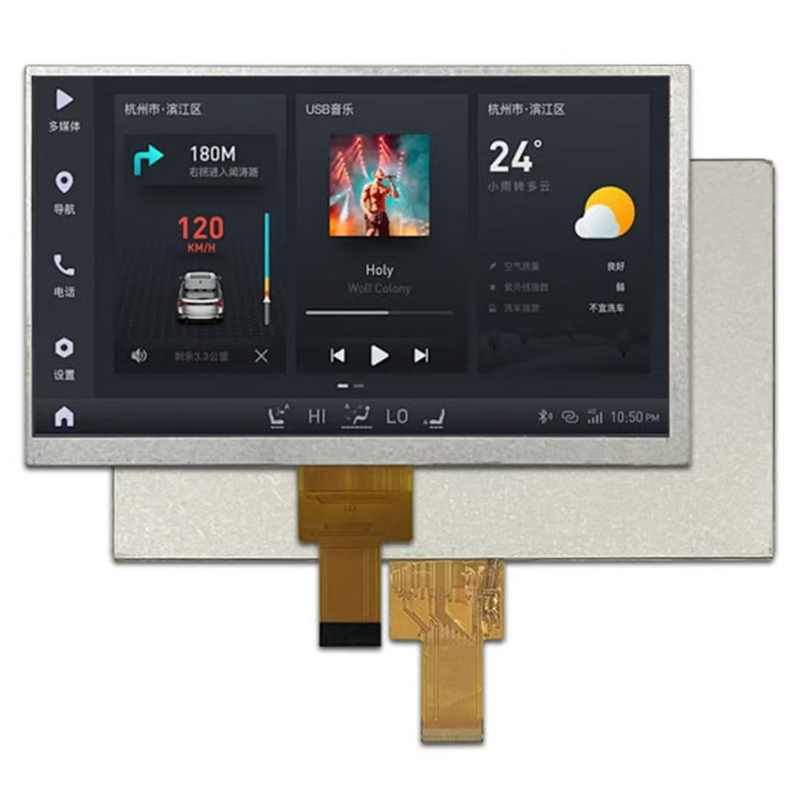
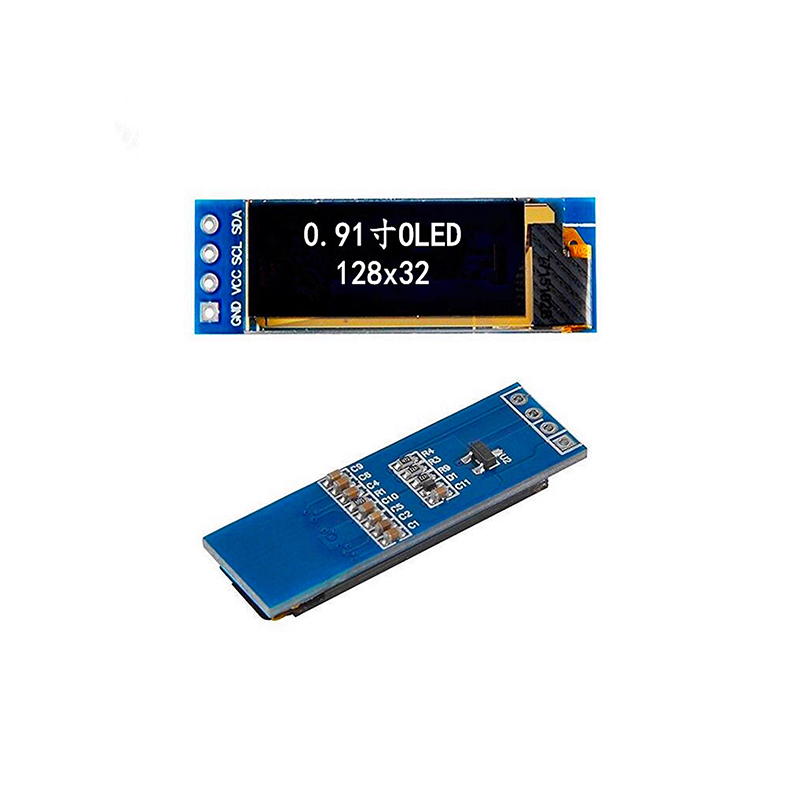
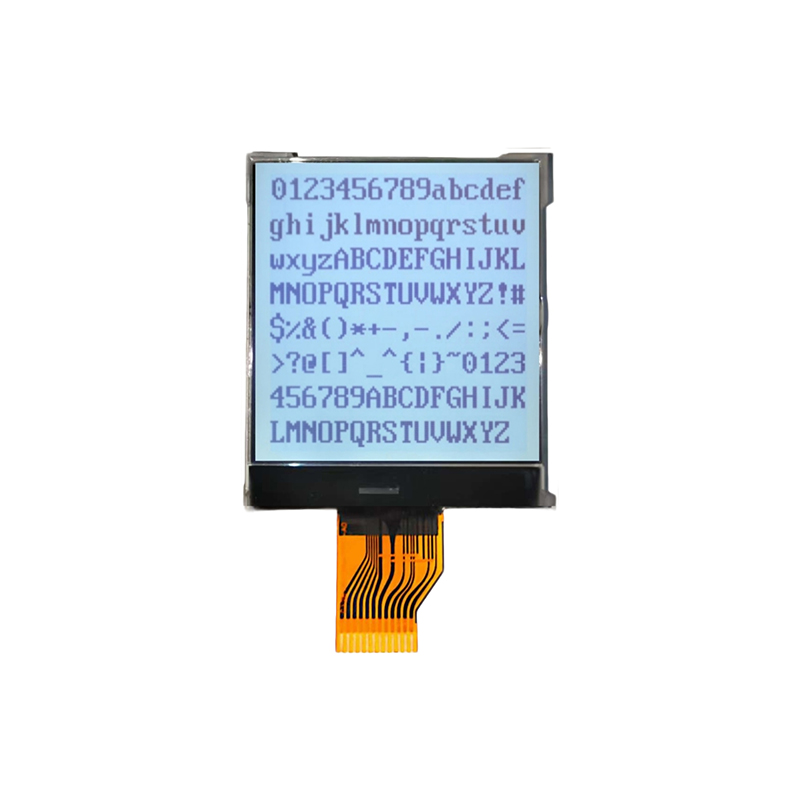
For high-quality LCD displays to enhance your Raspberry Pi projects, consider exploring the options available at Dalian Eastern Display Co., Ltd. They offer a wide range of displays suitable for various applications.