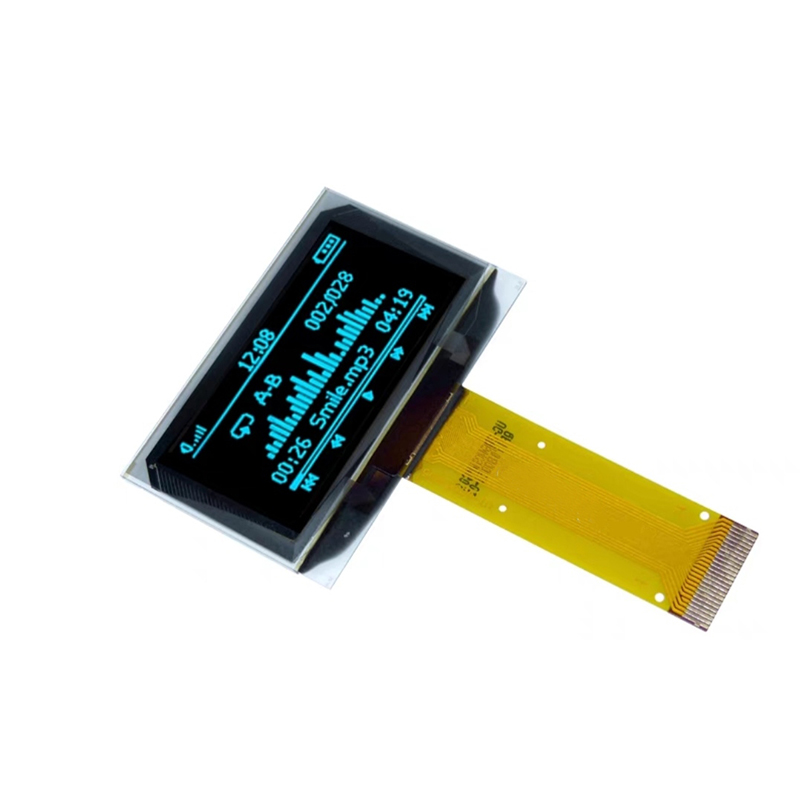
This guide provides a step-by-step walkthrough on connecting a TFT display to your Raspberry Pi 4, covering various display types, troubleshooting common issues, and optimizing your setup for the best visual experience. We'll explore different connection methods, software configurations, and practical tips to get your Raspberry Pi 4 TFT display working flawlessly.
The first step is selecting a compatible TFT display. Many options exist, ranging in size, resolution, and features. Consider factors like screen size (e.g., 3.5-inch, 7-inch), resolution (higher resolutions demand more processing power), touchscreen functionality, and interface type (e.g., SPI, I2C, HDMI). Always check the manufacturer's specifications to ensure compatibility with your Raspberry Pi 4. Some displays come with pre-built drivers, simplifying the setup process. Others may require more manual configuration.
Several reputable manufacturers offer excellent Raspberry Pi 4 TFT display solutions. Researching reviews and comparing specifications before purchasing is crucial. Factors such as brightness, viewing angles, and build quality are important considerations. Checking online forums and communities can provide valuable insights from other users' experiences.
Once you've chosen your display, connecting it to your Raspberry Pi 4 involves several steps. This will vary depending on the display's interface. Most commonly, you'll use either an HDMI cable (for HDMI displays) or a ribbon cable and potentially additional components (like a driver board) for SPI or I2C displays. Carefully examine your display's documentation for detailed instructions. Incorrect connections can damage your devices. For SPI and I2C displays, ensure proper wiring based on the provided pinout diagrams. This process often involves connecting the display's data, clock, and control lines to the appropriate GPIO pins on the Raspberry Pi.
Connecting via HDMI is often the easiest method. Simply plug one end of an HDMI cable into your Raspberry Pi 4's HDMI port and the other into your HDMI display. This generally requires no additional configuration beyond ensuring your Raspberry Pi is set to output to the correct display.
SPI and I2C connections usually require more technical knowledge and may need additional components like driver boards. These boards often handle the communication protocols between the Raspberry Pi and the display. Consult your display's documentation for specific wiring diagrams and configuration instructions. Be extremely cautious when working with GPIO pins to avoid damaging your hardware. For this method, you'll likely need to configure the Raspberry Pi's device tree and potentially install additional software drivers.
After the hardware connection, you'll need to configure your Raspberry Pi's software to recognize and utilize the connected display. This often involves installing drivers, configuring display settings, and potentially editing configuration files. Using the correct drivers is essential. Incorrect driver installation can lead to display issues or system instability.
If your display isn't working correctly, troubleshooting steps include verifying the hardware connections, ensuring the display is powered, checking the Raspberry Pi's configuration files, and reinstalling or updating drivers. Consult online forums and resources for assistance with specific display models. Remember to always back up your Raspberry Pi's configuration before making any significant changes.
Once your display is working, consider optimizing the settings for the best visual experience. Adjusting screen brightness, contrast, and resolution can significantly improve usability. Experiment with different display settings to find the optimal configuration for your needs.
Connecting a TFT display to your Raspberry Pi 4 opens up a world of possibilities for projects and applications. By carefully following the steps outlined in this guide and troubleshooting potential issues, you can successfully integrate a Raspberry Pi 4 TFT display into your project. Remember to consult your display's documentation for specific instructions and support.
For a wider range of high-quality LCD displays, explore Dalian Eastern Display Co., Ltd.'s extensive selection.


