Dalian Eastern Display Co., Ltd.
Dalian Eastern Display Co., Ltd.


This guide provides a comprehensive overview of connecting an LCD screen to your Raspberry Pi, covering various screen types, connection methods, and troubleshooting tips. We'll explore different display options, discuss the necessary hardware and software configurations, and offer practical advice to get your Raspberry Pi LCD setup working smoothly. Learn how to choose the right screen, configure drivers, and resolve common connection issues.
The first step in getting your Raspberry Pi LCD up and running is selecting the appropriate display. Several options are available, each with its own pros and cons. Factors to consider include screen size, resolution, interface type (e.g., SPI, I2C, HDMI), and power requirements. Popular choices include small, compact displays perfect for embedded projects and larger screens suitable for more demanding applications. Consider your project's needs to make the best selection. Some popular models are readily available online.
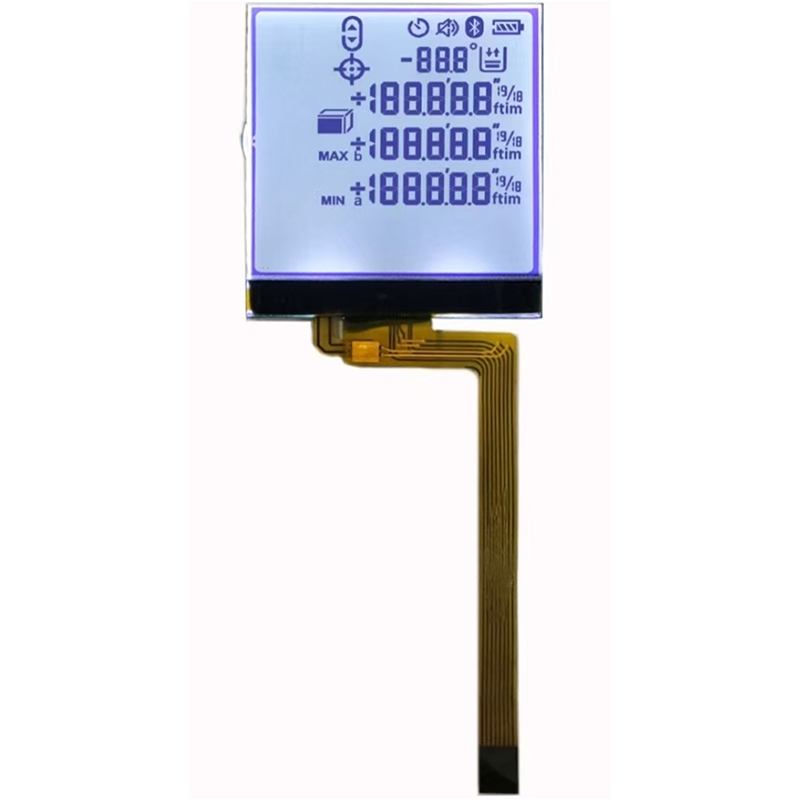
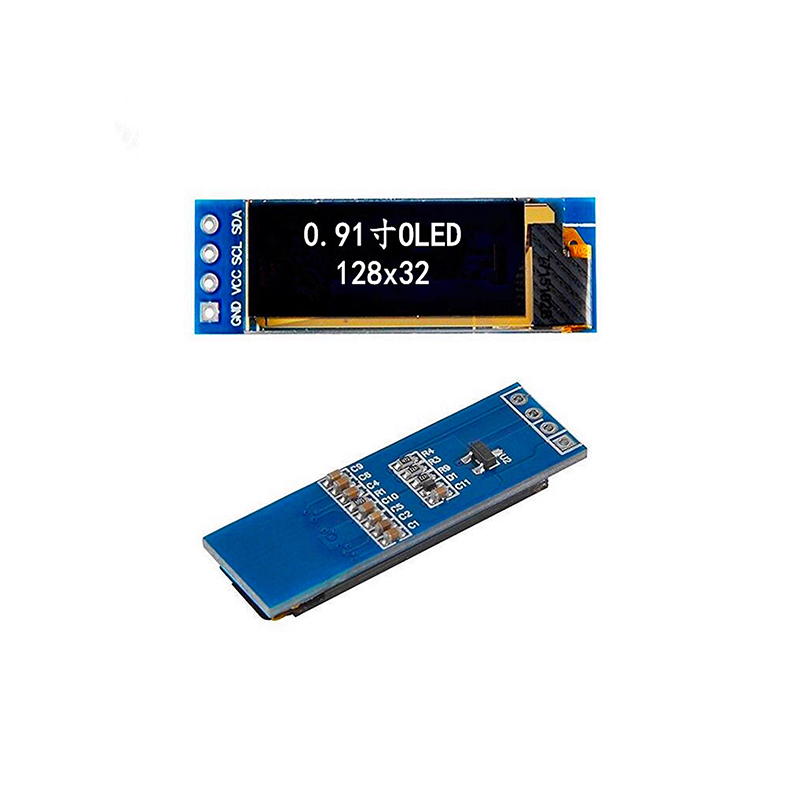
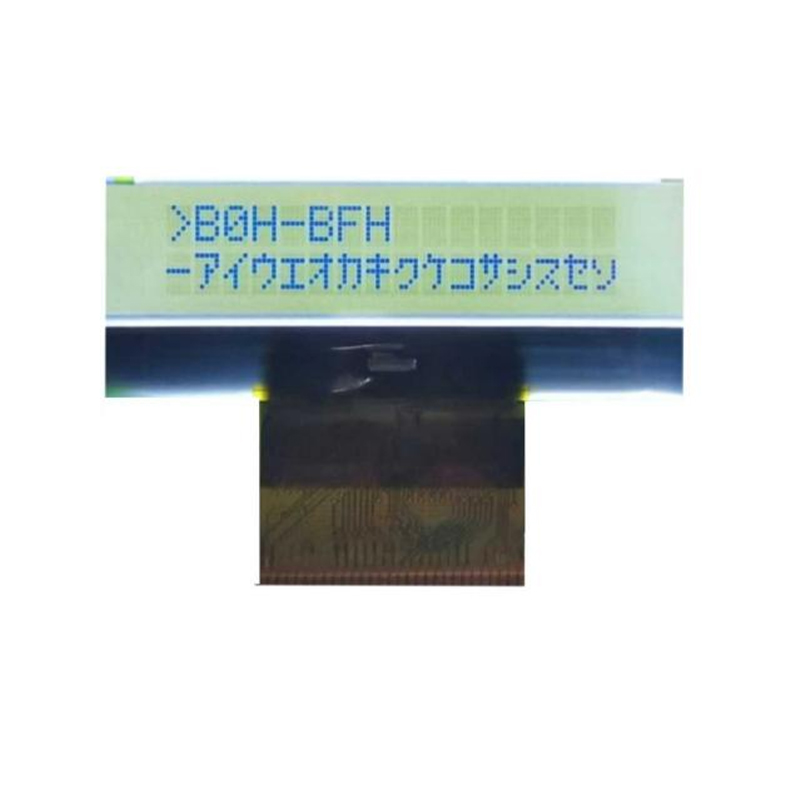
The market offers a wide array of Raspberry Pi LCD screens. You'll commonly encounter displays using different interfaces:
Once you've chosen your Raspberry Pi LCD, the next step is connecting it to your Raspberry Pi. This typically involves connecting the display's data, power, and ground pins to the appropriate Raspberry Pi GPIO pins. Consult your display's documentation for precise pin assignments. Improper connections can damage your components, so carefully review the instructions.
After physically connecting the Raspberry Pi LCD, you need to configure the Raspberry Pi's software to recognize and utilize the display. This usually involves installing appropriate drivers and configuring display settings through the Raspberry Pi Configuration Tool or command-line interface. The specific steps depend on your chosen display and interface.
Even with careful setup, you might encounter problems connecting your Raspberry Pi LCD. Common issues include:
| Feature | Small Display (e.g., 2.2 inch) | Medium Display (e.g., 3.5 inch) | Large Display (e.g., 7 inch) |
|---|---|---|---|
| Screen Size | 2.2 inches | 3.5 inches | 7 inches |
| Resolution | Variable (e.g., 240x320) | Variable (e.g., 480x320) | Variable (e.g., 800x480 or higher) |
| Interface | SPI, I2C | SPI, I2C, HDMI (Less common) | HDMI (Mostly) |
| Cost | Low | Medium | High |
For a wider selection of high-quality LCD screens for various applications, consider exploring the offerings at Dalian Eastern Display Co., Ltd.. They provide a comprehensive range of LCD displays suitable for diverse projects.
Remember to always consult the specific documentation for your chosen Raspberry Pi LCD and Raspberry Pi model for detailed instructions and troubleshooting tips. This guide serves as a general overview; the precise steps might vary depending on your hardware and software setup.