Dalian Eastern Display Co., Ltd.
Dalian Eastern Display Co., Ltd.


This guide provides a step-by-step walkthrough on connecting an OLED display to your Raspberry Pi, covering various aspects from hardware selection to software configuration. We'll explore different display options, address common troubleshooting issues, and showcase practical examples. Whether you're a beginner or experienced, this resource will help you successfully integrate an OLED display into your Raspberry Pi projects.
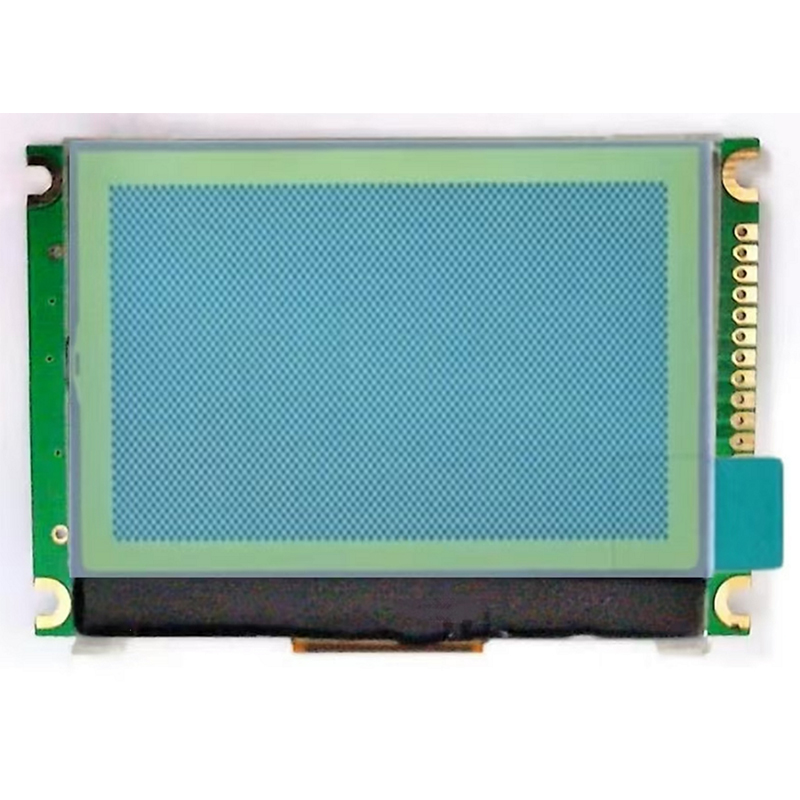
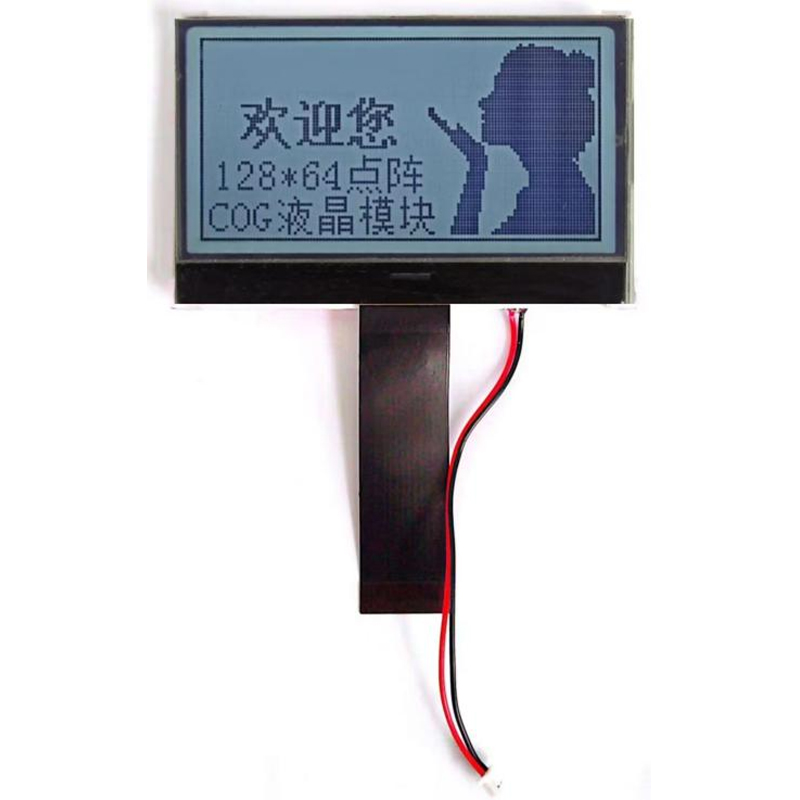
Selecting the appropriate Raspberry Pi OLED display involves considering several key specifications. Resolution (e.g., 128x64 pixels, 128x32 pixels) significantly impacts the visual clarity and the amount of information you can display. Interface type (I2C, SPI) determines how the display communicates with your Raspberry Pi. I2C is generally simpler to set up, while SPI offers higher data transfer rates for more demanding applications. Finally, consider the physical dimensions and power requirements of the display to ensure compatibility with your project.
The market offers a wide array of OLED displays compatible with the Raspberry Pi. Some popular choices include displays from Adafruit, Waveshare, and Pimoroni. Each vendor offers different sizes, resolutions, and features, catering to various needs and budgets. Before purchasing, carefully review the specifications and ensure compatibility with your Raspberry Pi model and chosen interface.
Once you've selected your Raspberry Pi OLED display, the next step involves connecting it to your Raspberry Pi. This typically requires connecting the display's data, clock, power, and ground pins to the corresponding GPIO pins on your Raspberry Pi. Consult your display's datasheet for the precise pinout and wiring diagram. Remember to carefully check the connections to prevent short circuits or damage to your hardware.
After connecting the hardware, you need to install the necessary libraries and drivers on your Raspberry Pi to control the display. This usually involves using the `sudo apt-get update` and `sudo apt-get upgrade` commands, followed by installing the specific library required for your display's interface (e.g., `smbus` for I2C). The exact commands may vary depending on the chosen display and its documentation. Consult your display's documentation for detailed instructions.
Numerous Python libraries simplify interacting with Raspberry Pi OLED displays. Popular choices include `luma.oled` and `ssd1306`. These libraries provide functions to write text, draw shapes, and display images on the screen. Many tutorials and example code snippets are available online to help you get started. The use of these libraries reduces the complexity of the interaction with the display.
With the appropriate libraries installed, you can start programming your display. Basic examples include displaying text messages or simple images. More complex applications might involve creating custom graphical user interfaces (GUIs) or integrating the display into larger projects. Experiment with different functions and techniques to create customized displays.
During the setup process, you might encounter several common issues. These may include incorrect wiring, driver installation problems, or software configuration errors. Troubleshooting often involves systematically checking each step, ensuring correct connections, and verifying the software setup. Online forums and communities are invaluable resources for finding solutions to specific problems.
Integrating a Raspberry Pi OLED display into your projects opens up exciting possibilities for creating interactive and visually appealing applications. By carefully following the steps outlined in this guide, and by understanding the various hardware and software considerations, you can successfully connect and utilize an OLED display with your Raspberry Pi. Remember to always consult the documentation for your specific display model.
| Feature | Adafruit Display | Waveshare Display |
|---|---|---|
| Resolution | Varies by model | Varies by model |
| Interface | I2C, SPI | I2C, SPI |
| Price | Varies by model | Varies by model |
For a wider selection of high-quality LCD and OLED displays, visit Dalian Eastern Display Co., Ltd.
1 Adafruit Product Pages. https://www.adafruit.com/
2 Waveshare Product Pages. https://www.waveshare.com/