Dalian Eastern Display Co., Ltd.
Dalian Eastern Display Co., Ltd.


This guide provides a step-by-step walkthrough on connecting and controlling an OLED display with your Raspberry Pi Pico. We'll cover the necessary hardware, software setup, and coding examples to get your Raspberry Pi Pico OLED display project up and running. Learn how to choose the right display, troubleshoot common issues, and unlock the full potential of your Pico's capabilities.
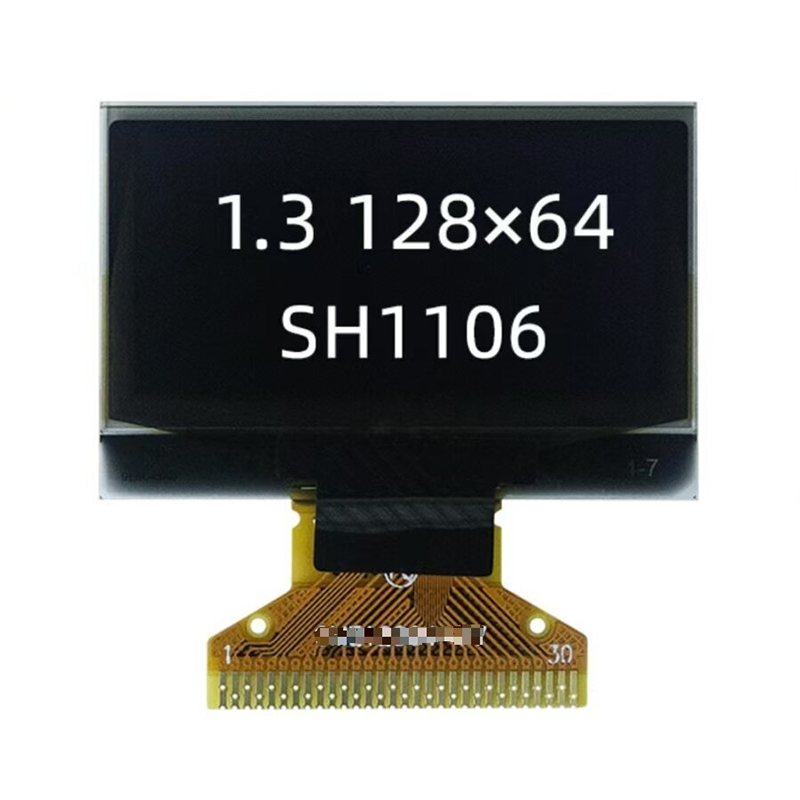
The first step in your Raspberry Pi Pico OLED display journey is selecting a compatible OLED display. Many options exist, differing in size, resolution, and interface. Common interfaces include I2C and SPI. I2C is generally preferred for its simplicity and ease of use with the Pico. When choosing, consider your project's needs – a larger display may be needed for complex visualizations, while a smaller one may suffice for simpler applications. Ensure your chosen display is compatible with the Pico's 3.3V operating voltage. Some popular choices include displays from various manufacturers such as Adafruit and Waveshare. Always check the manufacturer's specifications before purchasing to ensure compatibility.
Once you've chosen your display, connecting it to the Pico is straightforward. Most I2C displays require only four connections: VCC (3.3V), GND, SDA, and SCL. Refer to your display's datasheet for the exact pin assignments. Carefully connect the wires, ensuring a secure connection to avoid shorts. Incorrect wiring can damage your components. Always double-check your connections before powering up.

After connecting the hardware, you need to install the necessary libraries and write the code to control your Raspberry Pi Pico OLED display. The MicroPython firmware is well-suited for the Pico, offering a simplified programming experience. Popular libraries for OLED control include SSD1306, which supports many common OLED displays. Below is an example code snippet demonstrating basic text display.
from machine import I2C, Pinimport ssd1306i2c = I2C(0, scl=Pin(1), sda=Pin(0), freq=100000) #Adjust pins as neededoled = ssd1306.SSD1306_I2C(128, 64, i2c) #Adjust size as neededoled.fill(0)oled.text('Hello, World!', 0, 0)oled.show()If your Raspberry Pi Pico OLED display isn't working, check the following:
Beyond basic text display, you can leverage your Raspberry Pi Pico OLED display for advanced projects. This includes displaying images, graphs, and real-time sensor data. Explore different libraries and techniques to unlock the full potential of your setup. Consider projects that involve data visualization, creating custom dashboards, and integrating with other sensors or actuators. For example, you could display temperature readings from a DHT sensor or create a simple game display.
Connecting an OLED display to your Raspberry Pi Pico opens a world of possibilities for embedded systems projects. This guide provides a solid foundation for getting started, but remember to consult your specific display's datasheet for detailed information and further customization options. Experiment and explore the diverse applications available – you'll be surprised at what you can create!
For high-quality LCD and OLED displays, consider exploring the options available at Dalian Eastern Display Co., Ltd.
1 MicroPython documentation: [link to relevant MicroPython documentation](https://docs.micropython.org/en/latest/)