Dalian Eastern Display Co., Ltd.
Dalian Eastern Display Co., Ltd.


This guide provides a step-by-step walkthrough on connecting a TFT display to your Raspberry Pi Pico, covering hardware selection, wiring diagrams, software setup, and troubleshooting common issues. Learn how to choose the right display for your project and bring your Pico projects to life with vibrant visuals.
Selecting a compatible TFT display is crucial for a successful Raspberry Pi Pico TFT display setup. Several factors influence this choice, including resolution, size, interface type (SPI or I2C), and power requirements. Many displays designed for the Arduino ecosystem are also compatible with the Pico. Before purchasing, ensure the display's specifications align with the Pico's capabilities. Look for displays explicitly mentioning SPI or I2C compatibility.
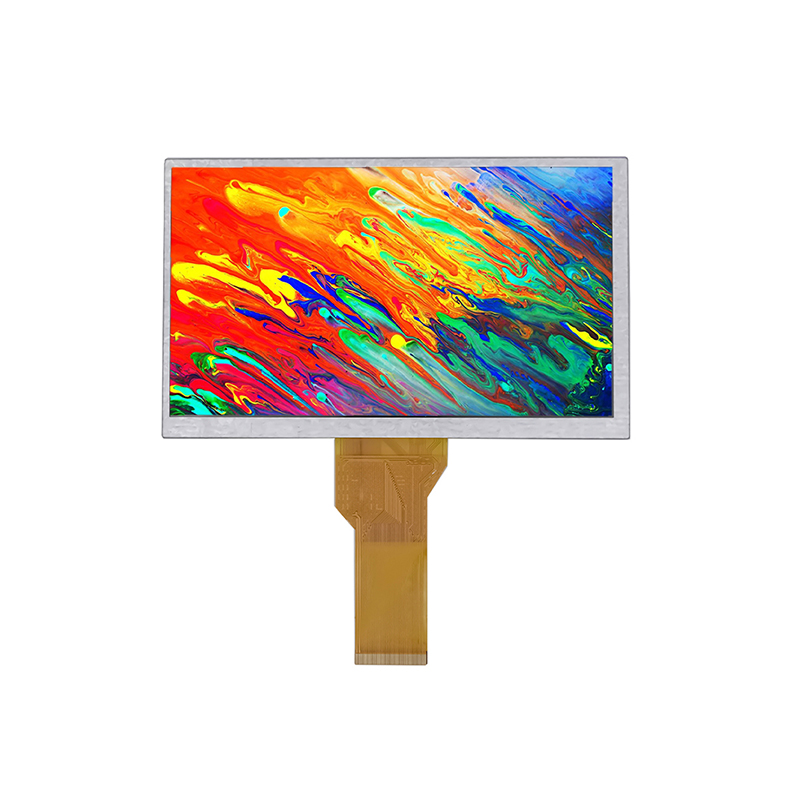
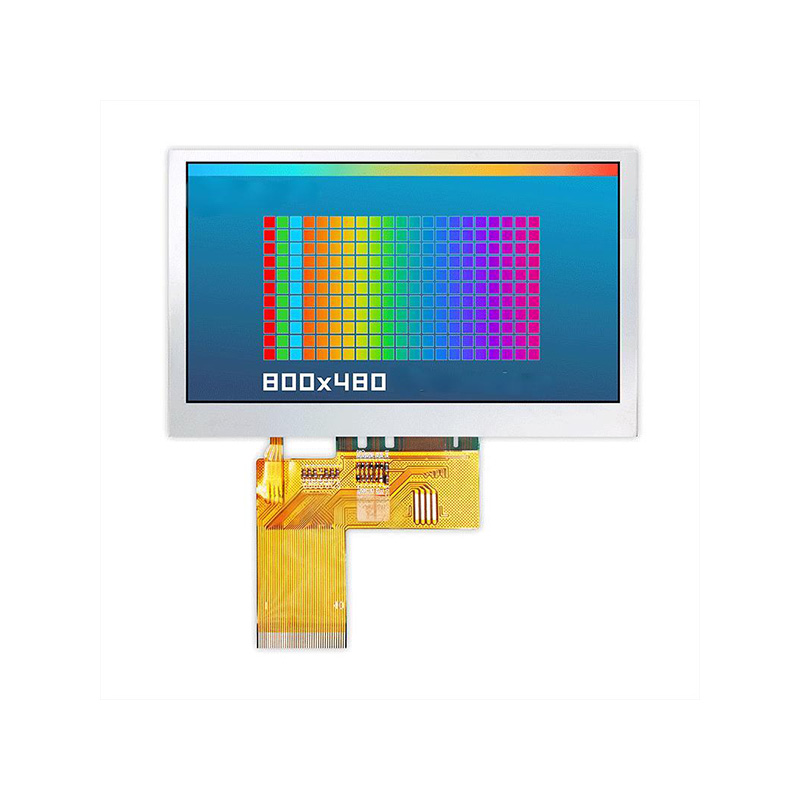
Several manufacturers produce suitable TFT displays for the Raspberry Pi Pico TFT display setup. Here are a few examples (Note: availability and specific models may vary):
The wiring process varies depending on your chosen display and its interface (SPI or I2C). However, common connections usually include:
A typical wiring diagram for an SPI-based Raspberry Pi Pico TFT display setup might look like this (Remember to consult your display's datasheet for precise pin assignments!):
| Raspberry Pi Pico Pin | TFT Display Pin | Signal |
|---|---|---|
| GP19 | MOSI | Data Out |
| GP18 | MISO | Data In |
| GP16 | SCK | Clock |
| GP17 | CS | Chip Select |
| GP21 | DC | Data/Command |
| GP20 | Reset | Reset |
Once the hardware is wired, you'll need to install the necessary libraries and write code to control the display. Libraries like Adafruit_GFX and specific driver libraries for your display type (e.g., Adafruit_ILI9341 for ILI9341 displays) are commonly used. These libraries provide functions for drawing shapes, text, and images on the screen.
Example code (Illustrative - adapt to your specific display and library):
#include // Include your display library here (e.g., #include )// Initialize your display object here.int main() { // Initialize display display.begin(); display.fillScreen(ILI9341_BLACK); // Fill the screen with black display.setCursor(0, 0); // Set the cursor to the top-left corner display.print(Hello, world!); // Print some text on the screen while (1) { // Add your display code here. } return 0;} Common issues include incorrect wiring, power problems, and software configuration errors. Double-check your wiring against the display's datasheet, ensure proper power supply, and verify the library installation and code correctness.
Connecting a TFT display to your Raspberry Pi Pico opens up a world of possibilities for creating visually engaging projects. By carefully selecting your display, accurately wiring it, and using the appropriate software, you can add a dynamic visual interface to your creations. Remember to consult the datasheets for both your Pico and your chosen display for specific details and pinouts.
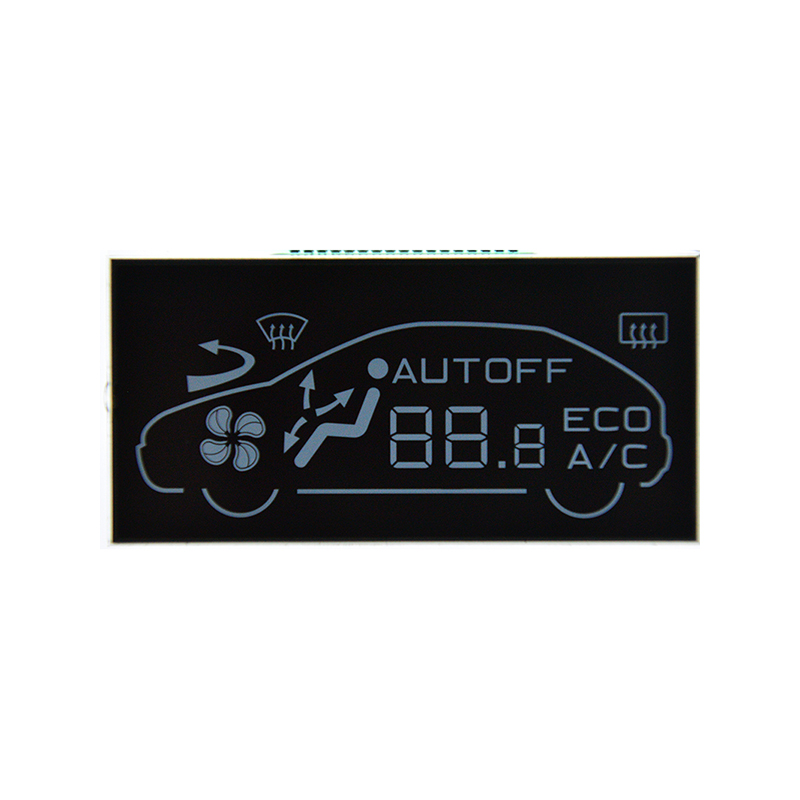
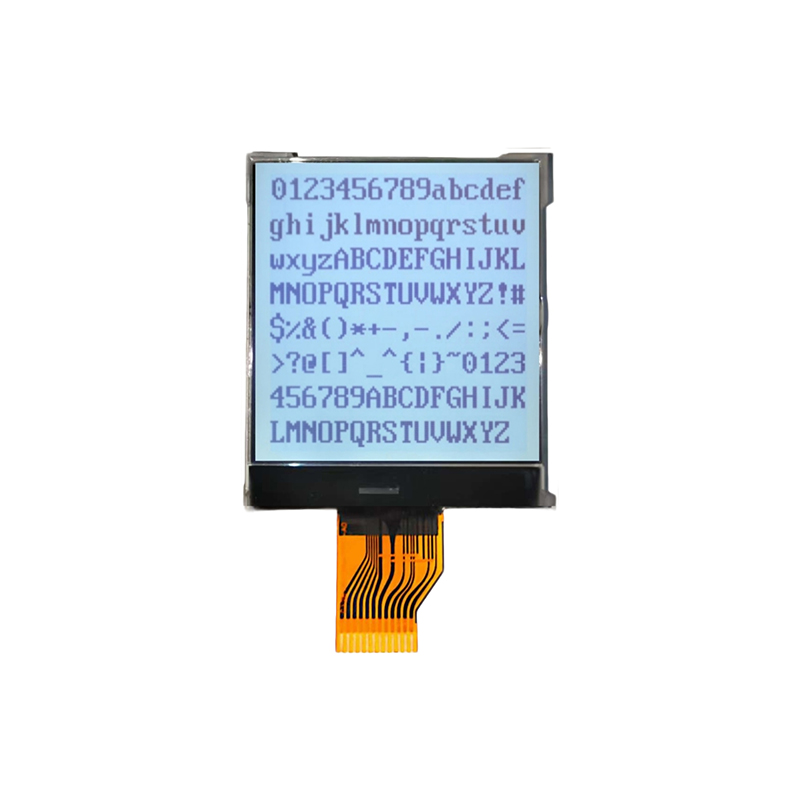
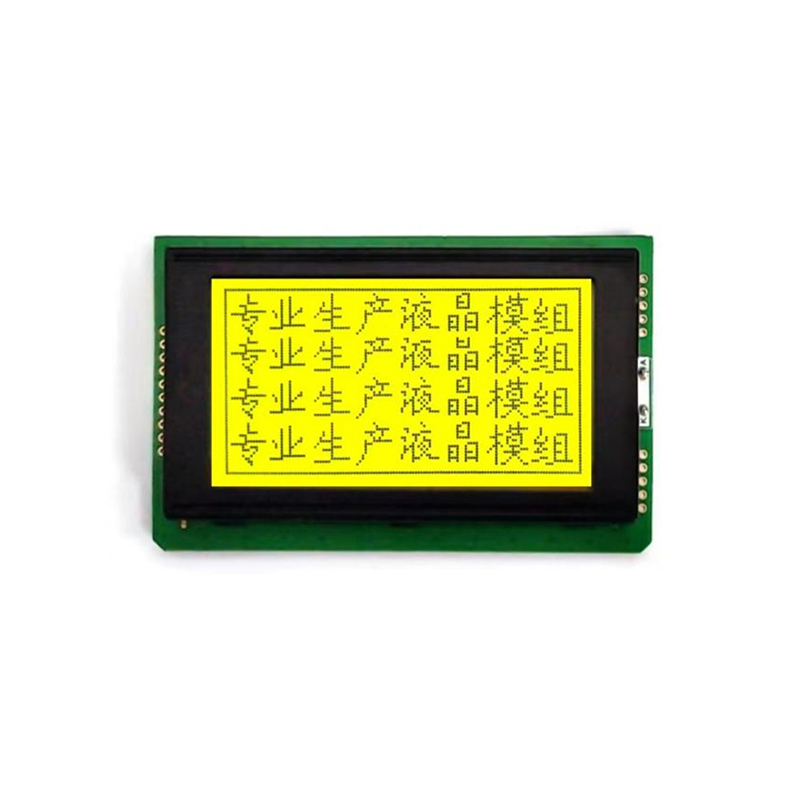
For high-quality LCD displays and modules, consider exploring the extensive range offered by Dalian Eastern Display Co., Ltd. They provide excellent support for various applications.
1Raspberry Pi Pico Datasheet: [Insert Raspberry Pi Pico Datasheet Link Here]