Dalian Eastern Display Co., Ltd.
Dalian Eastern Display Co., Ltd.


This guide explores the world of raspberry pi segment display applications, covering everything from choosing the right display to implementing complex projects. We'll delve into various display types, connection methods, and programming techniques, equipping you with the knowledge to create engaging and informative visual displays on your Raspberry Pi.
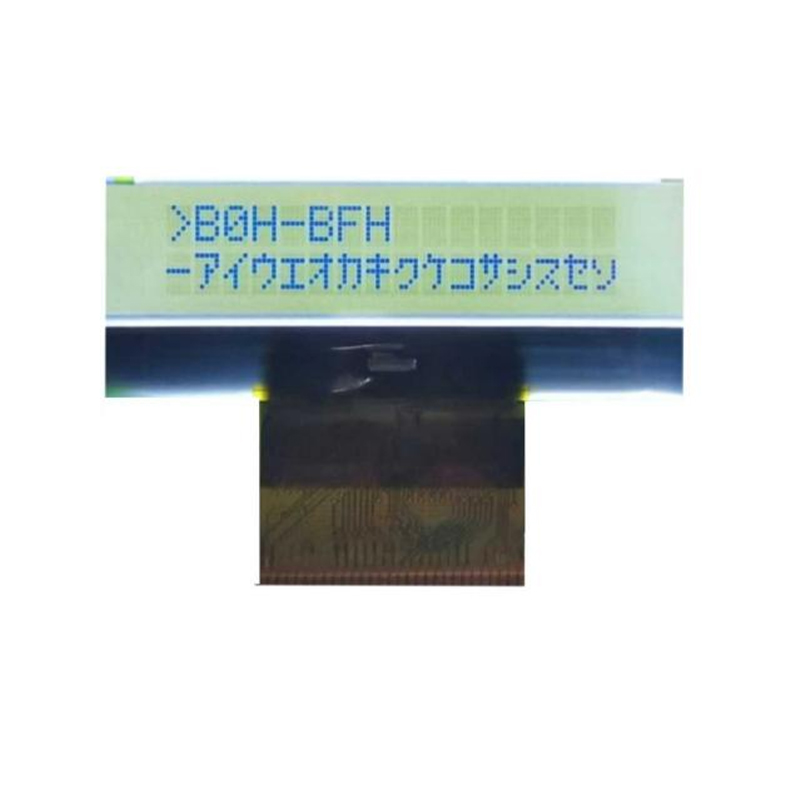
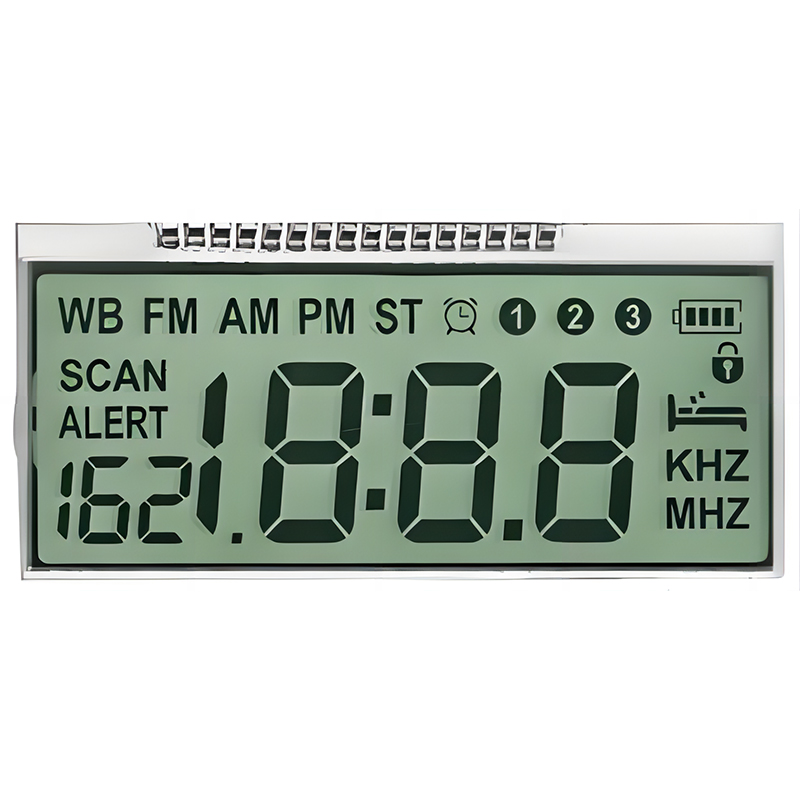
Several raspberry pi segment display options exist, each with unique characteristics. Common types include 7-segment, 14-segment, and dot-matrix displays. 7-segment displays are the most basic, ideal for simple numbers and characters. 14-segment displays offer enhanced character representation, while dot-matrix displays provide greater flexibility for complex images and animations. The choice depends on your project's complexity and visual requirements. Consider factors like size, brightness, and viewing angle when making your decision.
Connecting a raspberry pi segment display typically involves using GPIO pins on your Raspberry Pi. Most displays require a specific wiring configuration, often detailed in the product's documentation. Ensure you have the correct resistors and other components for proper voltage regulation and to prevent damage. Carefully follow the wiring diagrams provided by the manufacturer to ensure correct connectivity. Some displays may utilize I2C or SPI communication protocols for simpler wiring.
Programming your raspberry pi segment display involves using appropriate libraries and programming languages like Python. Libraries such as `RPi.GPIO` offer functions for controlling GPIO pins, allowing you to manipulate the segments of your display. You can create programs to display numbers, text, or even animations based on sensor inputs or other data sources. Many online resources and tutorials provide examples and guidance on programming these displays.
A classic raspberry pi segment display project is building a digital clock. Using real-time data and your chosen programming language, you can display the current time with precision. You can enhance this by incorporating date or other information. This project is a great starting point for understanding the fundamental principles of controlling the display.
Raspberry Pi segment displays are excellent for visualizing data from various sensors or sources. For example, you could build a system to display temperature readings, humidity levels, or even stock market information, providing a concise and visually appealing representation of the data.
By combining the display with input devices such as buttons or sensors, you can create interactive displays. Imagine a system where user input changes the information displayed on the segment display, adding a dynamic layer to your project.
For high-quality raspberry pi segment displays and other components, consider exploring reputable suppliers like Dalian Eastern Display Co., Ltd.. They offer a wide range of displays and related electronics, ensuring you find the perfect components for your project.
Occasionally, you might encounter issues such as incorrect display output or no display at all. Common problems include incorrect wiring, power supply issues, or software errors. Thoroughly check your wiring, ensure sufficient power, and verify your code for any errors. Online forums and communities are valuable resources for troubleshooting specific problems. Remember to always consult the documentation provided by the manufacturer of your raspberry pi segment display.
| Display Type | Advantages | Disadvantages |
|---|---|---|
| 7-Segment | Simple, inexpensive, readily available | Limited character set |
| 14-Segment | Improved character representation | More complex wiring |
| Dot-Matrix | High flexibility, customizable displays | More complex programming |
This guide provides a starting point for your journey with raspberry pi segment displays. Remember to explore various resources, experiment with different approaches, and let your creativity guide you in building innovative projects.