Mastering the Raspberry Pi SPI Interface: A Comprehensive GuideThis guide provides a detailed explanation of the Serial Peripheral Interface (SPI) on the Raspberry Pi, covering its functionality, configuration, and practical applications. Learn how to use the SPI bus for various projects, from controlling sensors and displays to interfacing with other peripherals. We'll delve into both software and hardware aspects, ensuring you have a solid understanding of this powerful communication protocol.
Understanding the Raspberry Pi SPI Interface
The Serial Peripheral Interface (
SPI) is a synchronous, full-duplex communication bus commonly used for short-distance communication, ideal for connecting microcontrollers like the Raspberry Pi to peripherals. Unlike I2C, which uses only two wires for data and clock,
SPI typically employs four:
SPI Pinout on the Raspberry Pi
The specific pin assignments vary slightly depending on the Raspberry Pi model. However, the most common configuration uses the following GPIO pins:
| Pin Number | GPIO Name | SPI Function |
| 19 | MOSI | Master Out Slave In |
| 21 | MISO | Master In Slave Out |
| 23 | SCLK | Serial Clock |
| 24 | CE0 | Chip Enable 0 |
Table 1: Common SPI Pin Assignments on the Raspberry Pi
Enabling the SPI Interface
Before you can use the
SPI interface, you need to enable it in the Raspberry Pi configuration. This is typically done through `raspi-config`. After enabling it, you'll need to reboot your Raspberry Pi for the changes to take effect.
Working with the SPI Bus: Software and Hardware
This section will guide you through the process of configuring and using the
SPI bus with Python. We'll use the `spidev` library, a readily available Python library for interacting with the
SPI bus. (Remember to install it using `pip install spidev`).
A Simple Python Example
This example demonstrates basic communication with an
SPI device. Remember to replace the `bus` and `device` numbers with the appropriate values for your setup.pythonimport spidevspi = spidev.SpiDev()spi.open(0, 0) # Bus 0, Device 0# Send data and receive responseresponse = spi.xfer2([0x01, 0x02, 0x03])print(response)spi.close()This code initializes the
SPI interface, sends a byte sequence, and then reads the response. The specific data sent and expected response will depend on the connected device.
Practical Applications
The
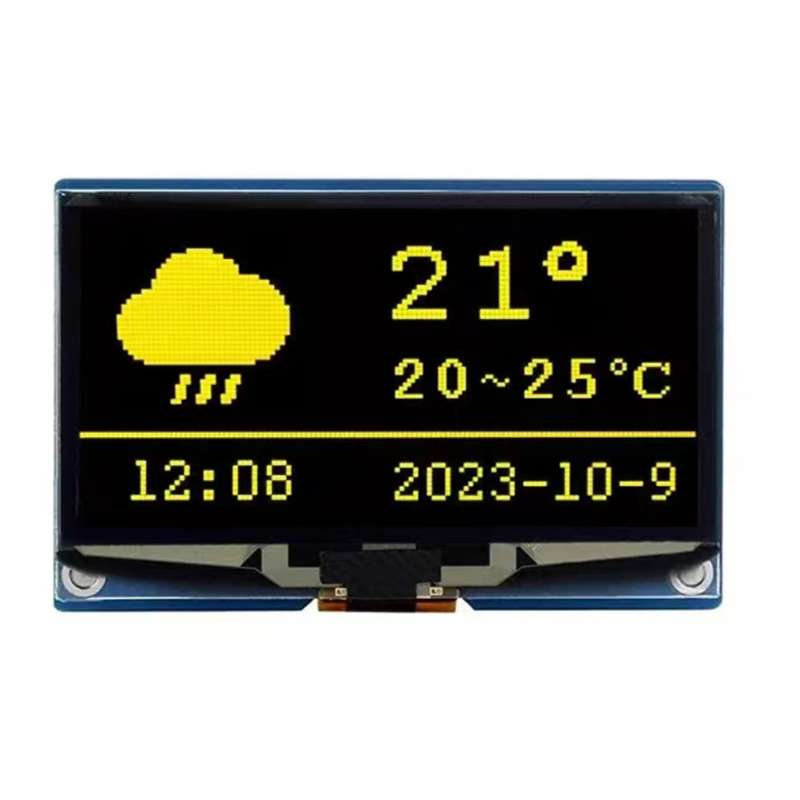
SPI interface allows for the connection and control of a wide range of devices. Here are some examples: Displays: Driving LCD screens, OLED displays, and other visual output devices. Sensors: Reading data from various sensors like temperature sensors, pressure sensors, and accelerometers. Data Acquisition: Interfacing with data acquisition devices for collecting and processing data.
Troubleshooting Common SPI Issues
Occasionally, you might encounter problems when working with the
SPI interface. Here are some common issues and their solutions: Permission Errors: Ensure you have the necessary permissions to access the
SPI device. Incorrect Wiring: Double-check your wiring to avoid short circuits or incorrect connections. Device Compatibility: Confirm that the connected device is compatible with the
SPI protocol and its specific settings.
Conclusion
The Raspberry Pi’s
SPI interface offers a flexible and efficient way to communicate with various peripherals. By understanding its functionality, configuration, and potential applications, you can unlock its full potential for a wide array of projects. Remember to consult the datasheets for your specific
SPI devices to ensure proper configuration and communication. For high-quality LCD displays and other components for your Raspberry Pi projects, consider exploring
Dalian Eastern Display Co., Ltd. Their expertise in display technology could be invaluable.


