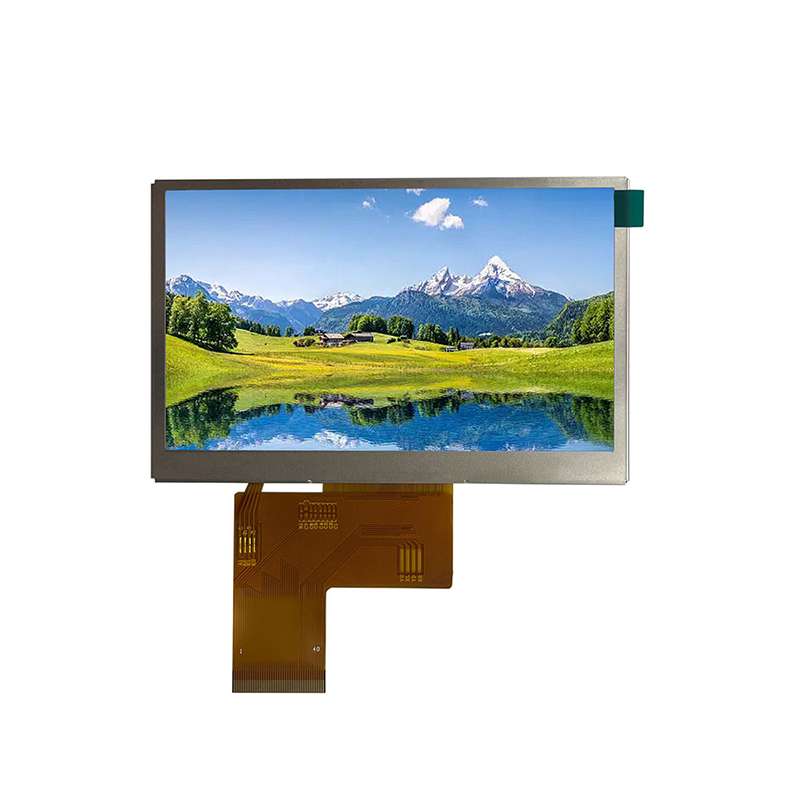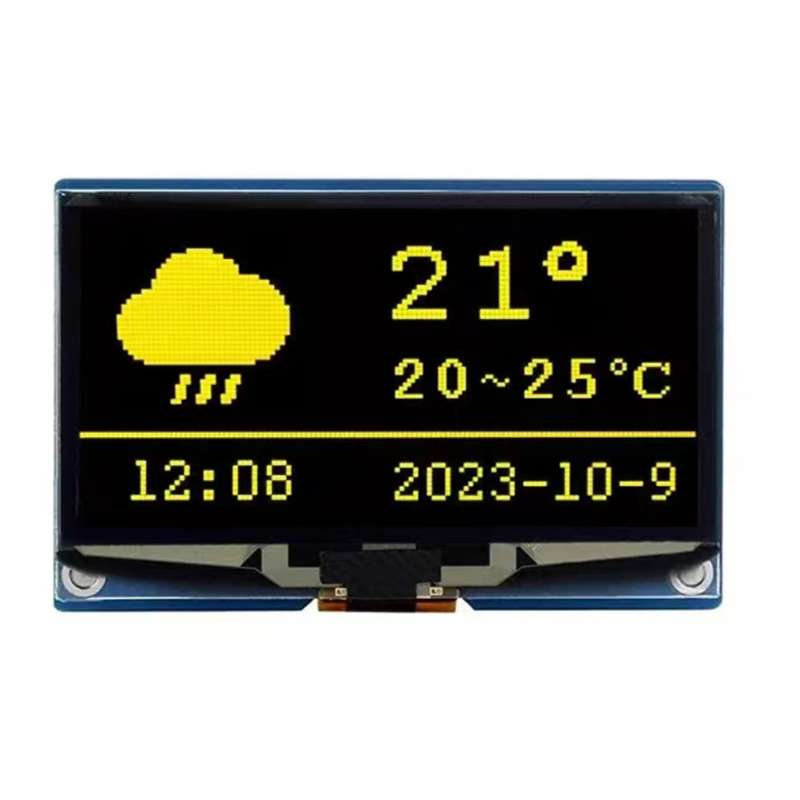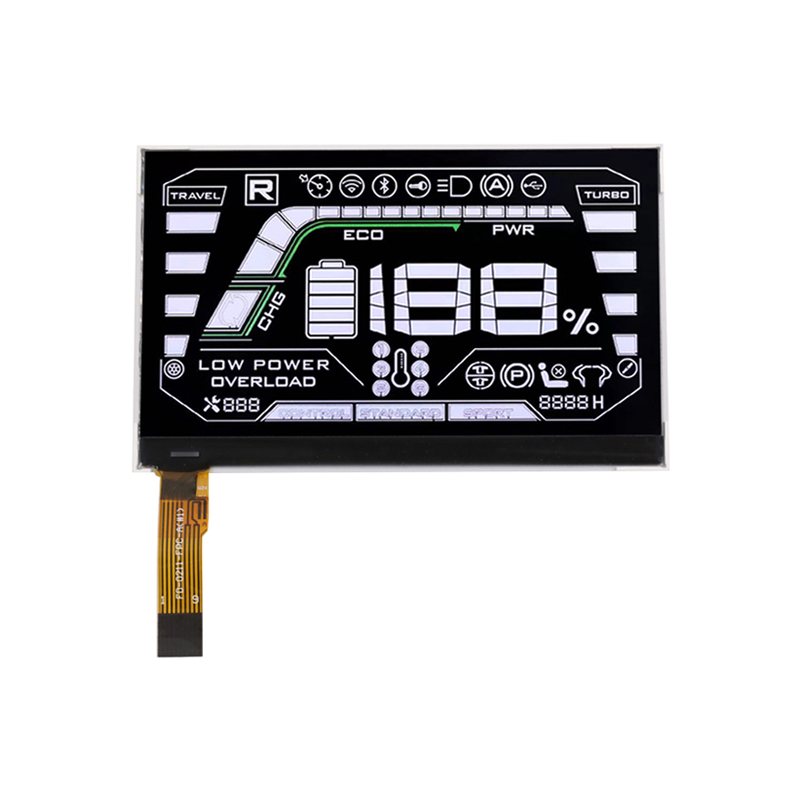
This comprehensive guide explores the exciting world of integrating round TFT displays with Arduino microcontrollers. We'll cover everything from selecting the right display to troubleshooting common issues, providing practical examples and resources to help you build your next innovative project. Learn how to harness the power of these circular displays and bring your creative visions to life. This guide is ideal for hobbyists, makers, and professionals looking to incorporate captivating visual interfaces into their Arduino-based projects.
Selecting the appropriate round TFT display for your Arduino project requires careful consideration of several key specifications. Resolution, size (measured in inches diagonally), color depth (number of bits per pixel, determining color accuracy), interface type (e.g., SPI, I2C), and power consumption are all crucial factors. Higher resolutions offer sharper images, while larger displays provide more screen real estate. Consider the visual complexity of your project when choosing the color depth. SPI interfaces generally offer faster data transfer rates compared to I2C, but might require more complex wiring. Power consumption is important for battery-powered applications. Many reputable manufacturers, such as Dalian Eastern Display Co., Ltd. (https://www.ed-lcd.com/), offer a wide range of high-quality round TFT displays.
Several popular round TFT display modules are readily available for integration with Arduino. These often include integrated controllers simplifying the connection process. Examples include displays from various manufacturers, offering variations in resolution, size, and features. Always check the datasheets for precise specifications and wiring diagrams before proceeding.
Connecting a round TFT display to an Arduino typically involves connecting the display's data, clock, control, and power pins to the corresponding Arduino pins. Consult the display's datasheet for the precise pin assignments. Proper grounding is crucial to prevent interference and ensure reliable operation. Depending on the display's interface type, you might need level shifters to match the voltage levels between the Arduino and the display. Using a breadboard during initial testing is highly recommended for easy prototyping and troubleshooting.
Most round TFT displays require a specific Arduino library to handle communication and display control. These libraries often provide functions for drawing shapes, text, and images. Popular libraries include Adafruit_GFX and specific libraries provided by the display manufacturers. Make sure to install the correct library for your chosen round TFT Display. Many libraries have example sketches which can significantly accelerate the development process. Correctly configuring the library, specifying the display type and pin assignments, is essential for successful operation.
Once connected and the library is set up, you can begin programming basic display functions. These usually include clearing the screen, drawing shapes (lines, rectangles, circles), displaying text, and setting the display's backlight intensity. The specific functions will vary depending on the library used. The examples provided in the library documentation are usually an excellent starting point.
Beyond basic functions, you can explore more advanced techniques like displaying images, creating animations, and incorporating user input through touchscreens (if supported by your display). Libraries often provide functions for image manipulation and display. Implementing touch functionalities usually requires additional libraries and careful calibration.
A blank screen could indicate problems with power, wiring, library setup, or even the display itself. Check your connections meticulously, verify power supply, and double-check library configuration. A logic analyzer can be useful to diagnose communication errors.
Display artifacts can be caused by incorrect wiring, insufficient power, communication errors, or even a faulty display. Systematic troubleshooting by checking each connection and component is crucial. If the issue persists, consider testing with a known good display module.
Integrating a round TFT display with Arduino opens up a world of possibilities for creating engaging and visually appealing projects. By understanding the display specifications, mastering the connection process, and utilizing the appropriate libraries, you can create impressive and functional applications. Remember to always refer to the datasheets and utilize the provided example sketches to overcome challenges effectively. Happy making!
| Display Feature | Option A | Option B |
|---|---|---|
| Resolution | 320x240 | 240x240 |
| Size | 2.4 | 2.8 |
| Interface | SPI | SPI |
Disclaimer: Specific product features and availability may vary. Always refer to the manufacturer's datasheet for the most accurate and up-to-date information.


