Dalian Eastern Display Co., Ltd.
Dalian Eastern Display Co., Ltd.


This article provides a detailed explanation of the SPI interface with microcontroller, covering its fundamental principles, practical implementation, and troubleshooting techniques. We will explore the hardware setup, software configuration, and common applications of SPI communication in embedded systems. The information presented here will benefit engineers and hobbyists alike working with microcontrollers and peripheral devices.
The Serial Peripheral Interface (SPI) is a synchronous, full-duplex communication bus commonly used to connect microcontrollers to various peripherals like sensors, ADCs, DACs, and memory chips. Its simplicity and speed make it a popular choice for many embedded applications. Unlike other communication protocols such as I2C, SPI doesn't require complex address decoding, making it easier to implement.
A typical SPI interface consists of four signals:
The SPI protocol supports several communication modes, which differ in the clock polarity (CPOL) and clock phase (CPHA):
| Mode | CPOL | CPHA | Description |
|---|---|---|---|
| Mode 0 | 0 | 0 | Clock idle low, data sampled on rising edge |
| Mode 1 | 0 | 1 | Clock idle low, data sampled on falling edge |
| Mode 2 | 1 | 0 | Clock idle high, data sampled on rising edge |
| Mode 3 | 1 | 1 | Clock idle high, data sampled on falling edge |
Implementing an SPI interface with microcontroller involves configuring the microcontroller's SPI peripheral and writing appropriate code to handle data transmission and reception. The specific steps vary depending on the microcontroller architecture and the chosen development environment, but the general process remains consistent.
Connect the microcontroller's SPI pins (MOSI, MISO, SCLK, SS) to the corresponding pins of the peripheral device. Ensure proper voltage levels and signal integrity.
The following example demonstrates basic SPI communication using the Arduino IDE:
#include <SPI.h>void setup() { Serial.begin(9600); SPI.begin(); pinMode(SS, OUTPUT); //Set SS pin as Output}void loop() { digitalWrite(SS, LOW); //Select Slave byte data = SPI.transfer(0x01); //Send Data and receive Data digitalWrite(SS, HIGH); //Deselect Slave Serial.println(data, HEX); delay(1000);}Beyond basic communication, more advanced SPI techniques can improve efficiency and handle complex scenarios. These include:
Using DMA allows for data transfer without CPU intervention, freeing up resources for other tasks.
Interrupts enable asynchronous data handling, improving responsiveness and reducing latency.
Common problems include incorrect clock configuration, wiring errors, and improper device selection. Careful verification of hardware connections and software settings is crucial for successful SPI communication.
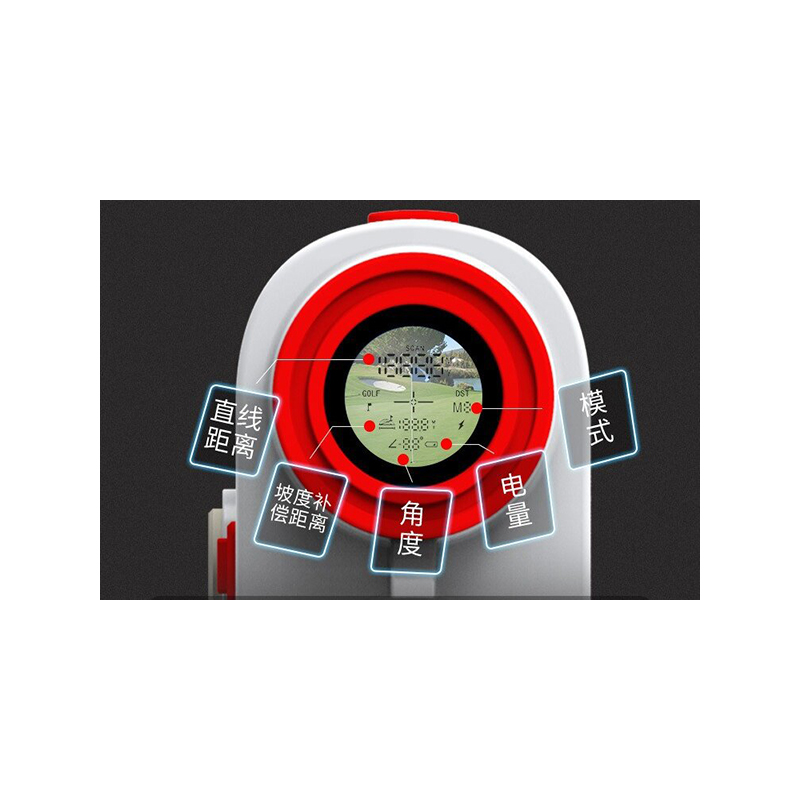
For more detailed information on LCD displays and related technologies, you may wish to visit Dalian Eastern Display Co., Ltd., a leading provider in the display industry. Their expertise in SPI interface with microcontroller integration can greatly enhance your project's capabilities.
This guide provides a solid foundation for understanding and utilizing the SPI interface with microcontroller. Remember to consult the datasheets of your specific microcontroller and peripherals for detailed implementation instructions.