Dalian Eastern Display Co., Ltd.
Dalian Eastern Display Co., Ltd.


This guide provides a detailed walkthrough on connecting and controlling a transparent OLED display with a Raspberry Pi. We'll cover hardware selection, software setup, and example code to help you get started with your project. Learn about the challenges and solutions involved in utilizing this advanced display technology with a popular, accessible single-board computer.
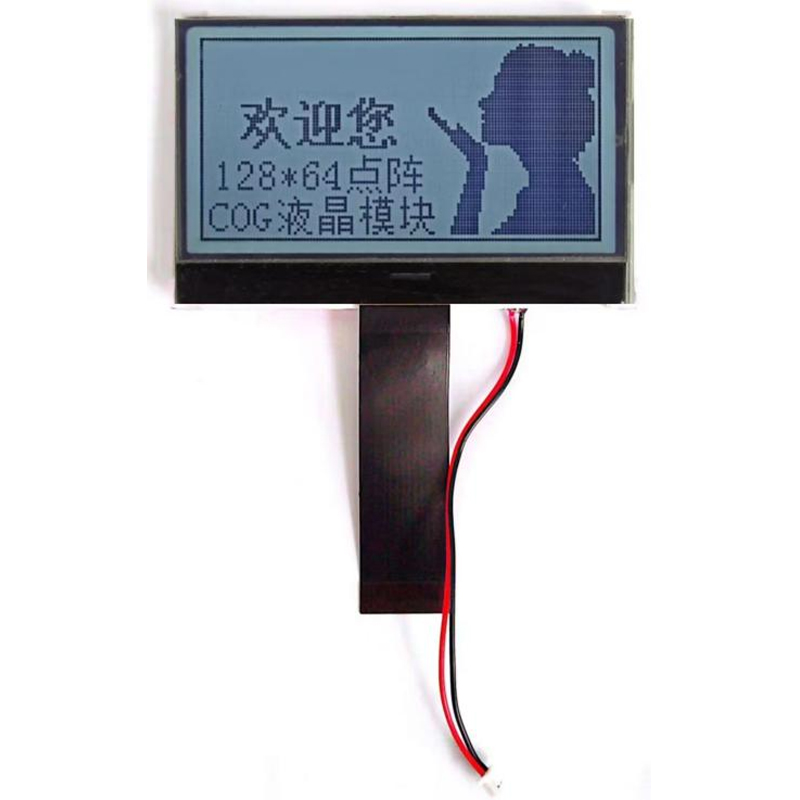
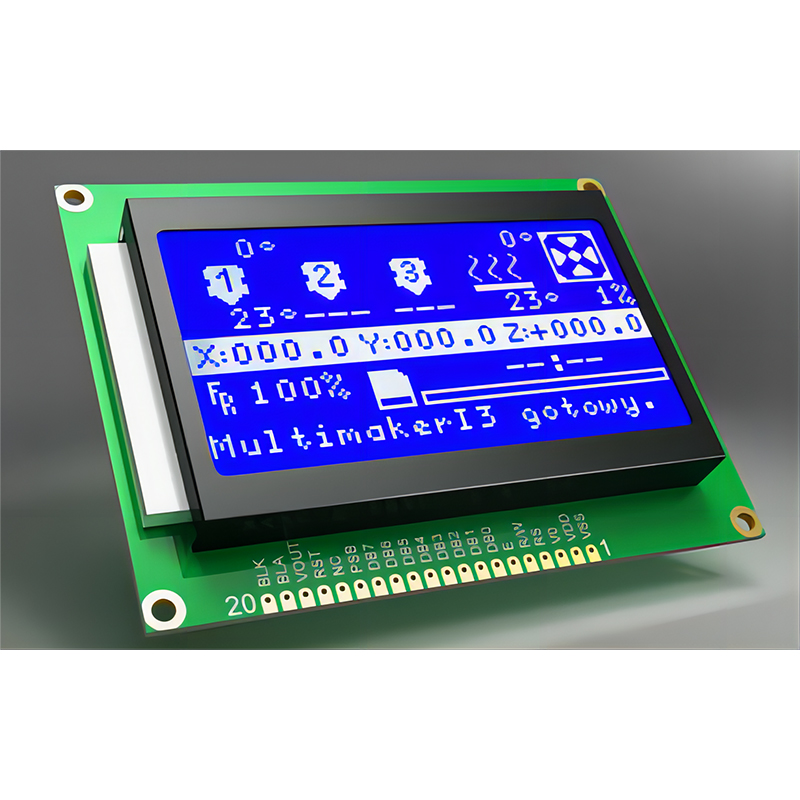
The market offers various transparent OLED displays with varying sizes, resolutions, and interfaces. Consider your project's needs when making your selection. Factors like size, power consumption, and the display's interface (e.g., I2C, SPI) will influence your choice. Ensure your chosen display is compatible with the Raspberry Pi's GPIO capabilities. Many displays utilize I2C, a widely supported communication protocol. Check the manufacturer's specifications carefully; you may need additional hardware such as level shifters depending on the display's voltage requirements.
Most Raspberry Pi models (like the Raspberry Pi 4 Model B or Raspberry Pi Zero 2 W) are suitable for driving a transparent OLED display. The Raspberry Pi's processing power and GPIO pins provide ample resources for this task. However, remember to check the power requirements of your chosen display to ensure your Raspberry Pi can supply sufficient power. You might need an external power supply for power-hungry displays.
Beyond the display and Raspberry Pi, you might need additional components like: jumpers, breadboard (for prototyping), and potentially a level shifter if the display's voltage requirements don't directly match the Raspberry Pi's GPIO voltage. Consider purchasing high-quality components to avoid any potential issues.
Before you can control your transparent OLED display, you'll need to install the appropriate libraries on your Raspberry Pi. The most common library for OLED displays is `luma.oled`. You can install it using pip: sudo pip3 install luma.oled. You might need additional libraries depending on the display's specific driver and communication protocol.
Careful wiring is crucial. Refer to your display's datasheet for the pinout diagram and connect the corresponding pins to the Raspberry Pi's GPIO pins. Ensure proper grounding and power connections. Incorrect wiring can damage both the display and the Raspberry Pi. Double-check your connections before powering on your setup.
Here's a simple Python script using `luma.oled` to display Hello, World! on your transparent OLED display. Remember to adapt the script based on your display's specific model and resolution. This example assumes an I2C interface:
from luma.oled.device import ssd1306from luma.core.render import canvasfrom PIL import ImageFont, ImageDrawdevice = ssd1306(port=1, address=0x3C) # Adjust address as neededwith canvas(device) as draw: font = ImageFont.load_default() draw.text((0, 0), Hello, World!, font=font, fill=255)Troubleshooting can involve checking your wiring, ensuring the correct libraries are installed, and verifying the I2C address of your display. If you are facing difficulties, refer to the display's documentation and online forums for potential solutions. Many online resources provide support for similar projects.
Once you've mastered the basics, you can explore advanced projects such as creating a real-time clock, displaying sensor data, or integrating the display into a larger project. The possibilities are vast, limited only by your imagination and programming skills. You could even incorporate data visualization or interactive elements.
Driving a transparent OLED display with a Raspberry Pi opens up a world of possibilities for creative and innovative projects. This guide provides a foundational understanding and practical steps to get you started. Remember to carefully review your display's specifications and consult online resources for further assistance. Happy building!